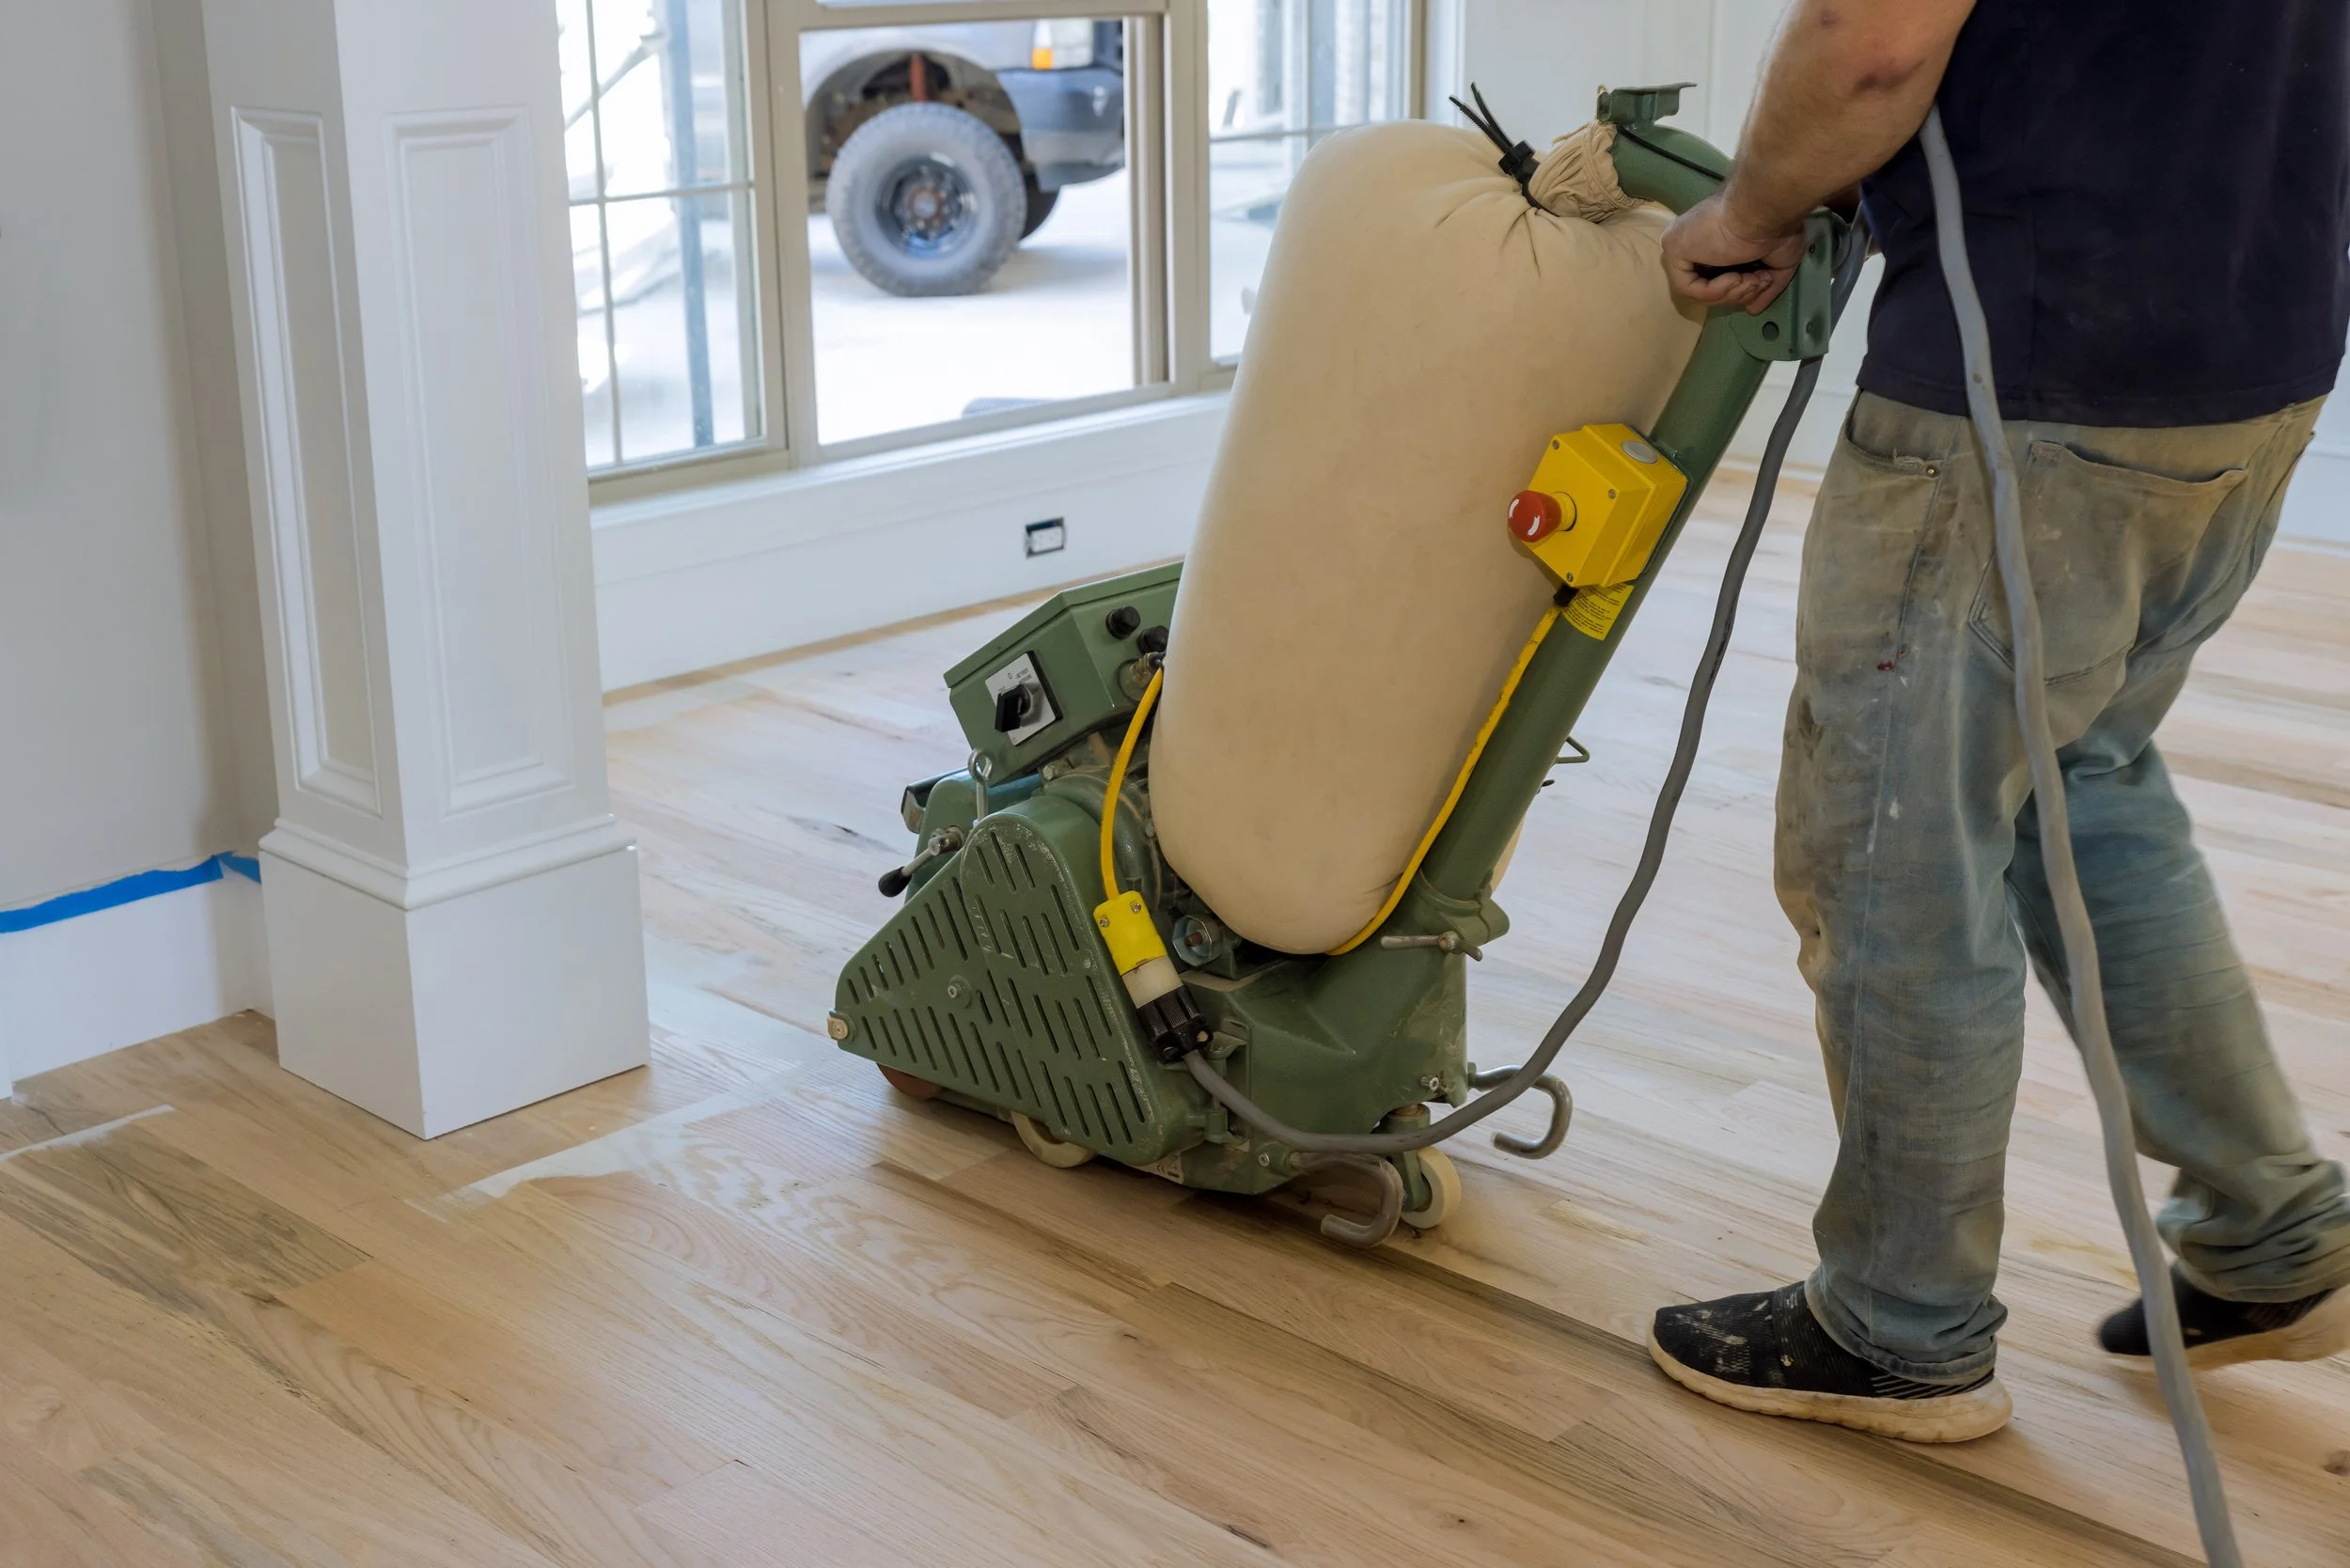
Hardwood Flooring Jobsite Prep Checklist: What Pros Need to Know
When it comes to hardwood flooring, even the best materials can fall short without proper site prep. Before the first plank is laid, conditions on the jobsite must be just right. Whether you're working with solid or engineered hardwood, taking the time to control the environment and surface ensures a smooth installation and long-term performance.
This jobsite prep checklist is designed specifically for flooring installers, general contractors, and builders who want to protect their reputation and avoid callbacks. Let’s walk through the key steps every professional should follow.
1. Confirm Delivery Conditions
Before hardwood arrives onsite, confirm that the home or building is in a climate-controlled state. This means:
Windows and doors are installed
HVAC systems are operational
Interior finishes (drywall, painting) are completed or nearly completed
Uncontrolled environments can introduce moisture issues that lead to cupping, buckling, or gapping post-installation. Always verify delivery readiness with the GC or homeowner before scheduling shipment.
2. Conduct a Moisture Readiness Assessment
Moisture is the #1 enemy of hardwood flooring. Before anything touches the subfloor, document and confirm the following:
Subfloor Moisture Content
For wood subfloors: Must be within 2–4% of the hardwood flooring’s moisture content
For concrete slabs: Use a calcium chloride test or relative humidity probe
Subfloor should read <12% MC for wood, or <75% RH for slabs.
Relative Humidity & Temp
Indoor RH should be between 30%–50%
Temperature range: 60–80°F
💡 Pro Tip: Use a professional-grade moisture meter and keep dated readings for liability protection.
3. Check Subfloor Flatness & Stability
A solid foundation is critical to prevent squeaks, hollow spots, and bonding issues. Here’s what to check:
Subfloor must be flat within 3/16” over 10 ft. span
Nail or screw down loose sections
Sand high spots, and fill low ones with leveling compound
Clean off any debris, adhesive residue, or paint
If installing over concrete, confirm it’s cured and sealed as required.
4. Acclimate the Flooring
Even engineered hardwood needs time to adjust to the site’s conditions. Upon delivery:
Store boxes flat and off the ground
Keep them unopened but in the install area
Allow 3–5 days (or more in extreme climates)
Engineered products like ours at Jakestone Hardwoods are more dimensionally stable than solid hardwood, but acclimation still matters.
5. Identify and Protect High-Risk Areas
Before install begins, walk the site and flag trouble spots. For example:
Entryways where water might be tracked in
Bathrooms or laundry rooms (moisture-prone zones)
Heavy furniture placement zones
Areas with potential sun fade (e.g., under large windows)
Apply vapor barriers, protective mats, or request a finish upgrade in those areas, especially for site-finished floors.
6. Coordinate with Other Trades
The jobsite can quickly become chaotic if trades overlap. Ensure:
Painting, drywall sanding, and tilework are complete or isolated
Heavy-duty equipment isn’t operating in finished flooring zones
Flooring install is scheduled after cabinetry and built-ins (unless flooring runs underneath)
Miscommunication with other trades is one of the top reasons floors get scratched, gouged, or delayed.
7. Review Flooring Layout and Transitions
Before cutting a single board, review the layout plan:
Confirm plank direction and starting wall
Plan for expansion gaps per manufacturer specs
Verify transition locations at thresholds, stair nosings, etc.
Mark layout lines and check for squareness
Small layout issues on Day 1 can become big alignment problems across large open floor plans.
Bonus: Use a Jobsite Prep Signoff Sheet
Professionals protect their process. Use a simple checklist document signed by your installer or site supervisor that verifies:
Moisture readings
Flatness check
Acclimation timeline
Confirmed install area readiness
We recommend keeping a digital record of your jobsite prep—especially for custom or site-finished hardwood installations.
Final Thoughts
Preparing a jobsite correctly isn’t just good practice—it’s a professional standard. Proper prep leads to better installs, happier clients, and fewer callbacks.
With premium engineered flooring like Jakestone’s, you’re working with the best materials—make sure the site is worthy of them. Partner with Jakestone Hardwoods to ensure your next flooring installation starts with the right foundation. Get in touch with us here.
Whether you’re a GC, custom home builder, or flooring contractor, this hardwood flooring jobsite prep checklist should be a permanent part of your install toolkit.

